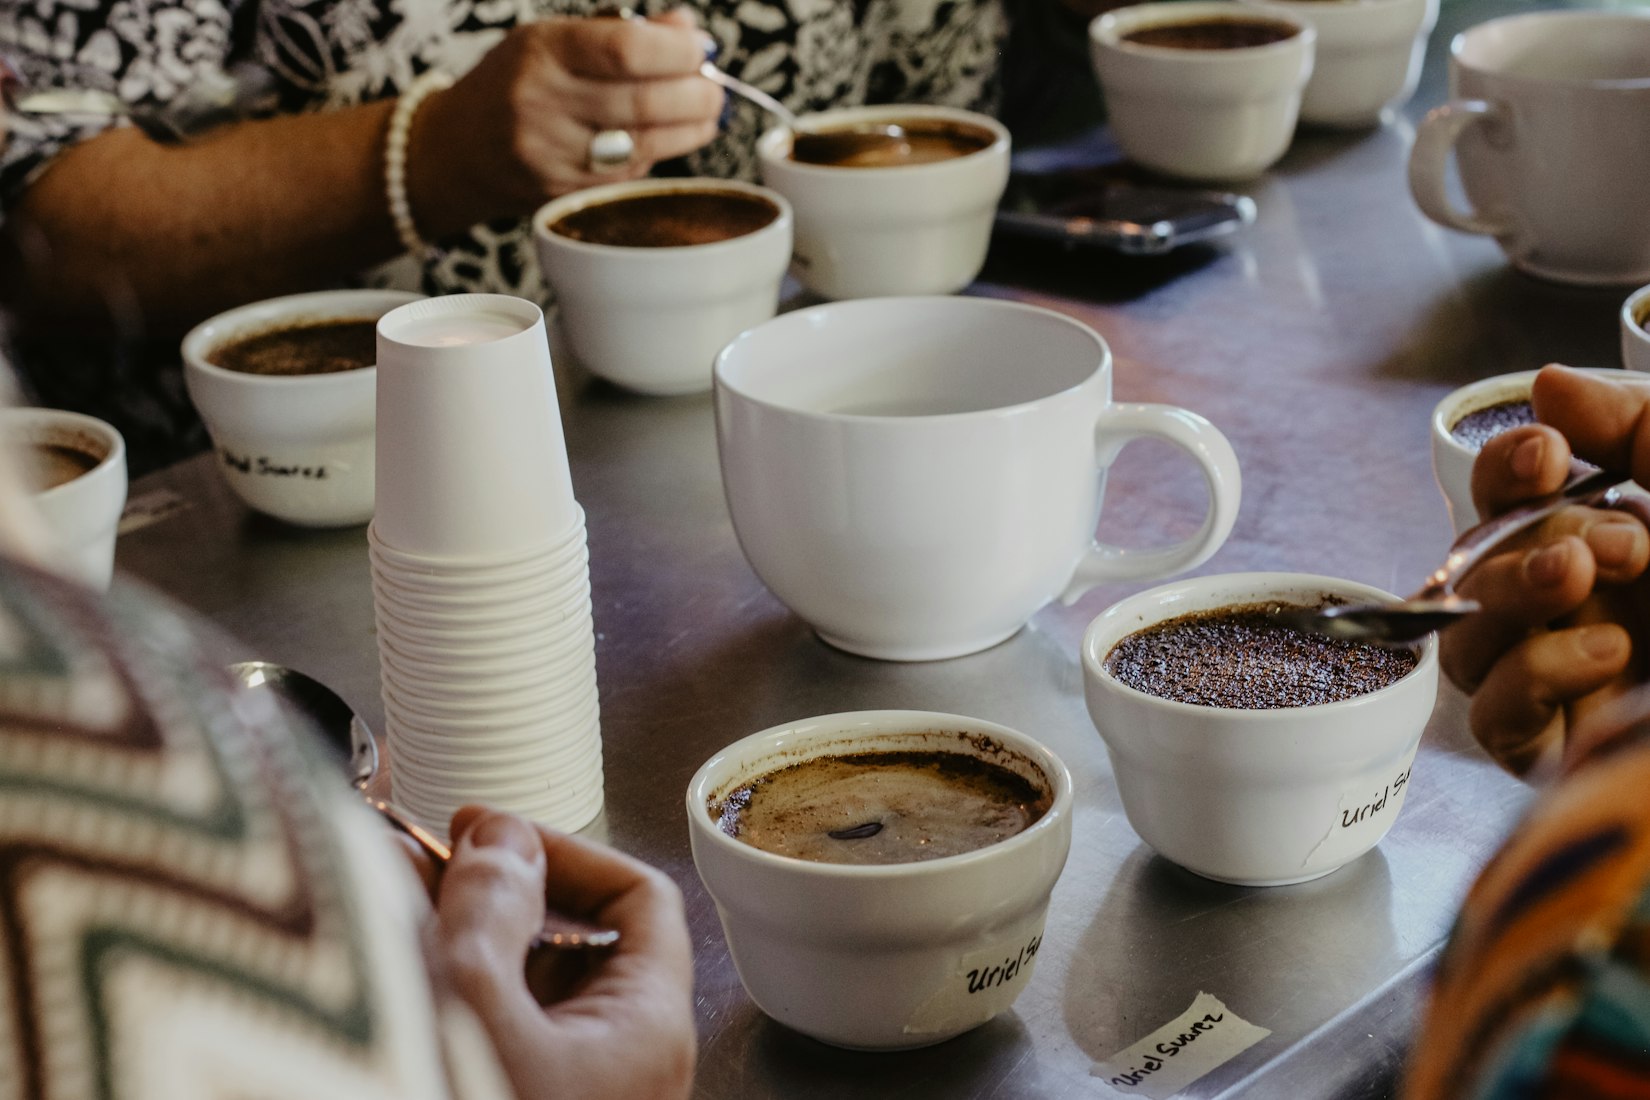
Coffee Cupping Skills for Beginners: Coffee cupping is an essential skill for those who wish to dive deep into the world of coffee and develop a more refined palate. Whether you’re a beginner or an enthusiast looking to expand your coffee knowledge, understanding the fundamentals of coffee cupping can significantly enhance your tasting experience. In this guide, we’ll introduce you to the basics of coffee cupping and provide you with essential tips and techniques to begin your journey into the art of coffee tasting and evaluation.
Mastering Coffee Cupping Skills for Beginners: A Comprehensive Guide
Coffee cupping is an essential skill for those who wish to dive deep into the world of coffee and develop a more refined palate. Whether you’re a beginner or an enthusiast looking to expand your coffee knowledge, understanding the fundamentals of coffee cupping can greatly enhance your tasting experience. In this comprehensive guide, we’ll introduce you to the basics of coffee cupping and provide you with essential tips and techniques to begin your journey into the art of coffee tasting and evaluation.
I. Understanding Coffee Cupping
What is Coffee Cupping?
Coffee cupping is a systematic process used by coffee professionals and enthusiasts to evaluate and compare different coffee samples based on their taste, aroma, and overall quality.
The Importance of Coffee Cupping
Cupping helps identify specific flavor profiles, detect defects, and determine the quality of coffee beans. It’s an invaluable skill for coffee roasters, buyers, baristas, and aficionados alike.
II. The Coffee Cupping Process
- Preparing Your Workspace: Set up a clean, well-lit, and quiet environment with adequate space for your cupping bowls, coffee samples, and other necessary tools.
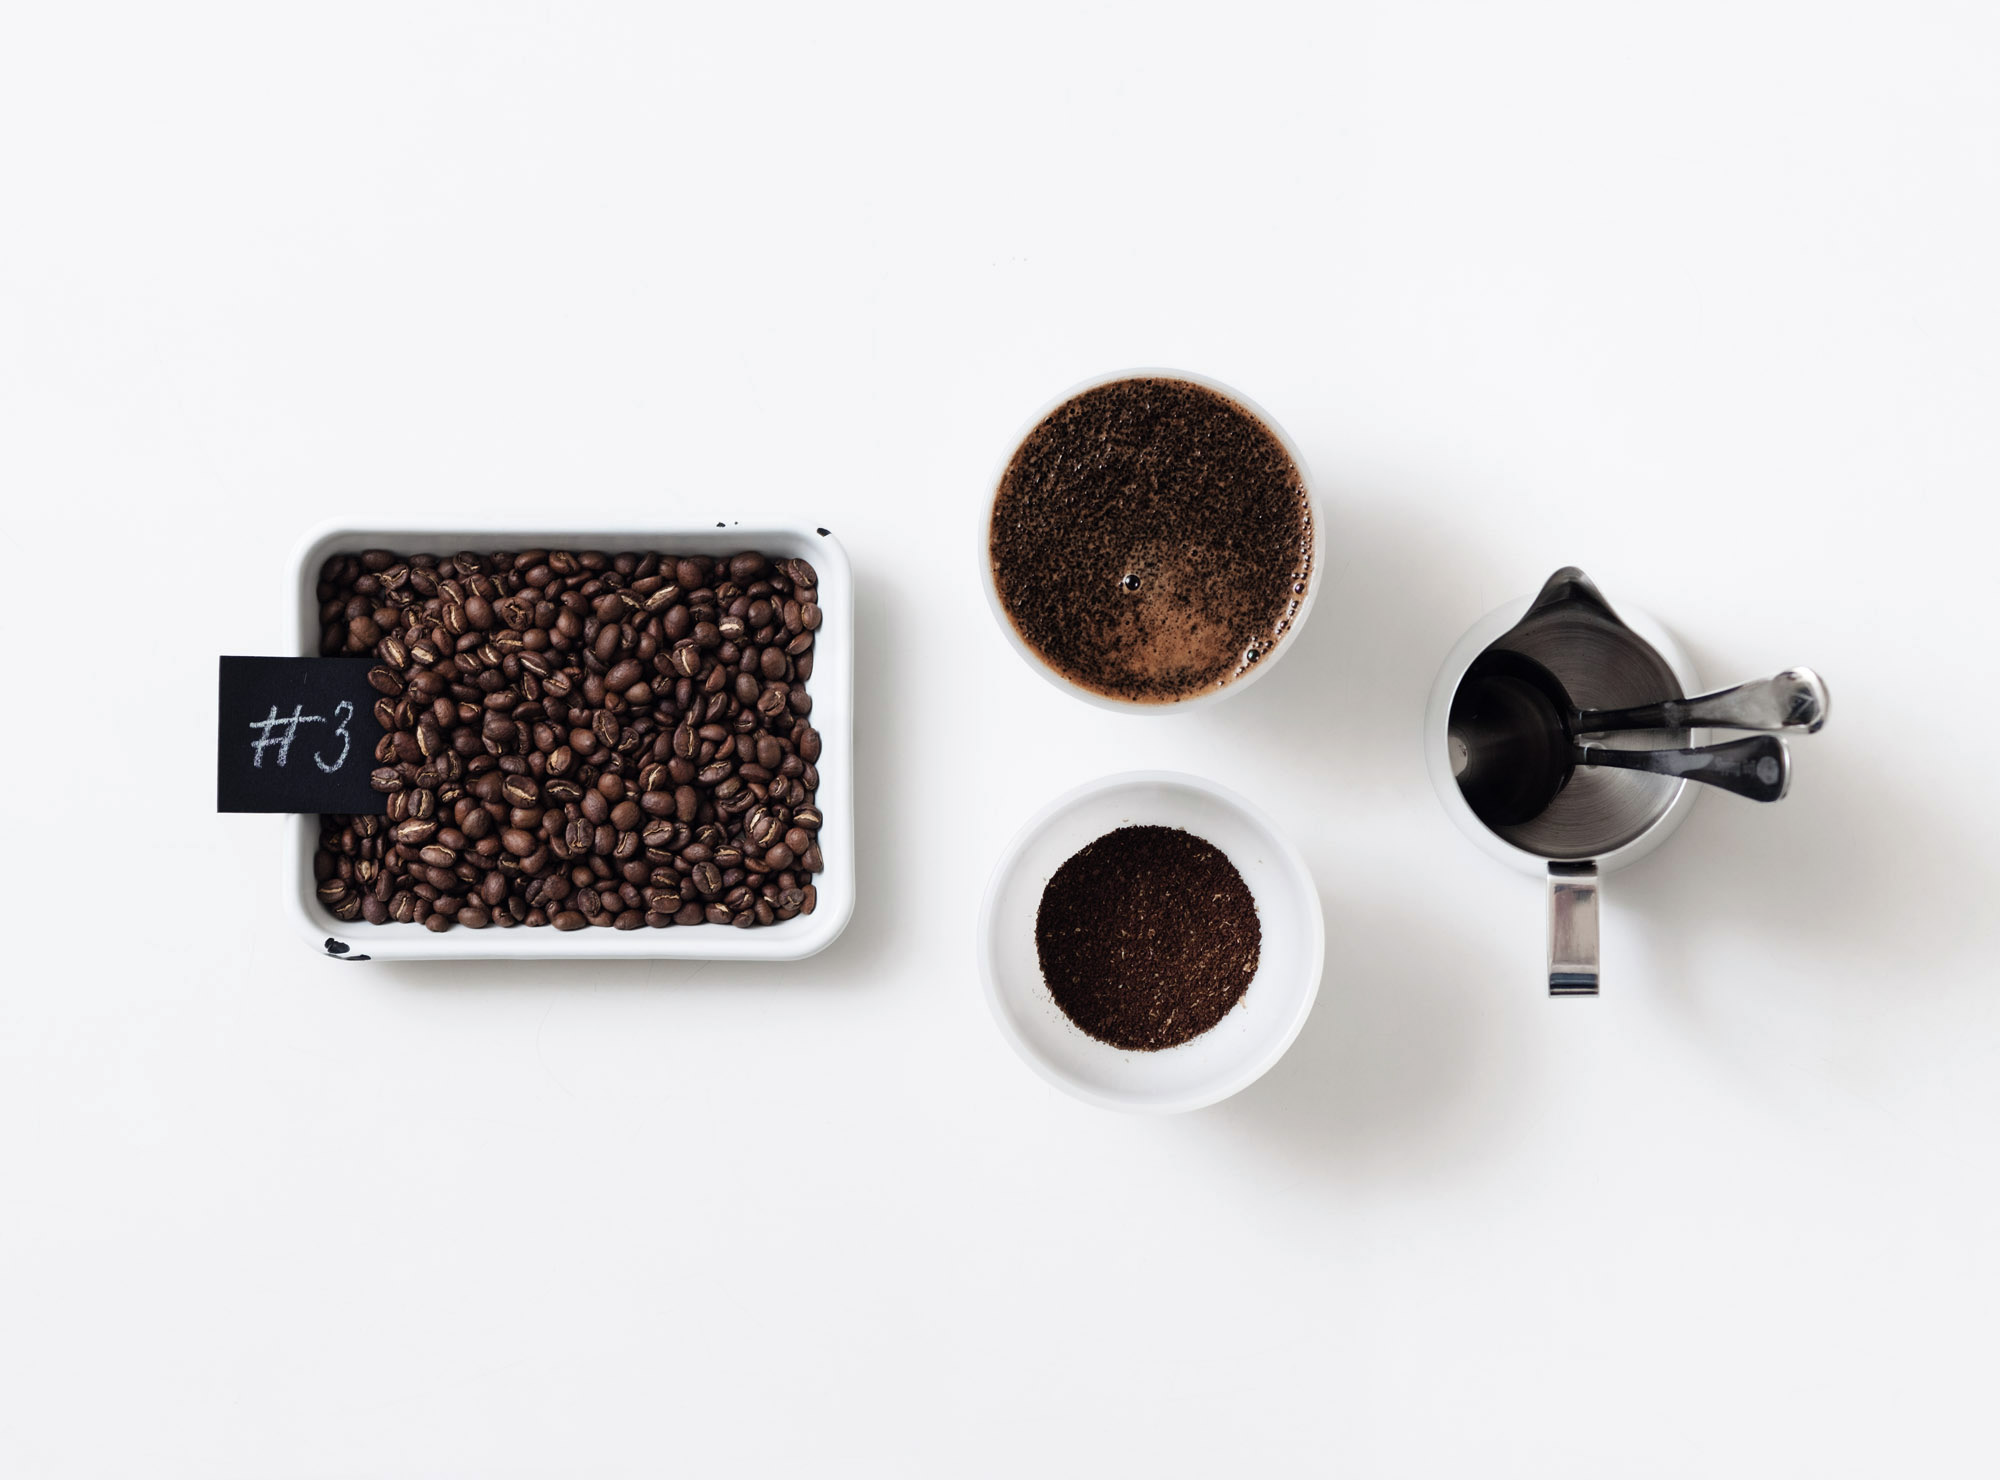
- Coffee Selection and Preparation: Choose a range of coffee samples, preferably with different origins and processing methods. Measure and grind each coffee sample to a consistent size, similar to that used for a pour-over.
- Evaluating Aroma: Fill each cupping bowl with freshly ground coffee and smell the dry grounds to assess the fragrance. Add hot water and allow the coffee to steep for 4 minutes. Break the crust that forms on the surface and evaluate the aroma released.
- Tasting the Coffee: Using a cupping spoon, slurp the coffee to aerate it and spread it across your palate. Analyze various aspects of the coffee, such as acidity, body, sweetness, flavor notes, and aftertaste.
- Scoring the Coffee: Assign a score to each coffee based on the Specialty Coffee Association (SCA) cupping form or your personal criteria.
III. Tips for Improving Your Coffee Cupping Skills
- Practice Regularly: Frequent cupping sessions will help you develop your palate, improve your ability to detect subtle differences, and enhance your overall cupping skills.
- Cup with Others: Cupping with fellow coffee enthusiasts or professionals can provide valuable insights, different perspectives, and help you learn from each other’s experiences.
- Explore Different Coffees: Experiment with various coffee origins, processing methods, and roast profiles to broaden your understanding of coffee’s diverse flavors and aromas.
- Keep a Tasting Journal: Record your observations, tasting notes, and scores during each cupping session to track your progress and document your coffee journey.
Conclusion:
Mastering coffee cupping skills as a beginner may seem daunting, but with dedication, practice, and an open mind, you’ll be well on your way to becoming a proficient coffee taster. Use this comprehensive guide as a starting point and continue exploring the fascinating world of coffee to deepen your appreciation and understanding of this beloved beverage.
When to start tasting – Cupping Skills for Beginners
Some people enjoy coffee right after pouring it; others find it too hot!
Brown and Diller (2016) from the University of Texas report that coffee must be cooled below 71°C to limit suspended sediment in the cup. Likewise, the SCA tasting procedure stipulates that the tasting coffee sample must be cooled below 71°C before tasters begin the sensory evaluation.

The experts at Baristahustle recommend that assessors begin assessing coffee aromas in the <71°C safe zones, but ideally at 65°C. Through the testing documented here, the cup porcelain, which weighs almost 300g, cools faster than cups made of other materials (such as plastic or glass). And when using 10g of coffee with 180g of hot water, the cup temperature will drop below 70°C in just 4 minutes 30 Meanwhile, the plastic utensils weighing about 43g take 9 minutes for the temperature of the coffee to fall. . below 70°C.
Therefore, the advice here is to measure your temperature before you start cupping to make sure you don’t burn your tongue from the first cup.
Mold temperature
To get a complete picture of the flavor of your coffee, you must test coffee samples over an extensive range of temperatures and observe changes in taste as the coffee cools. Waiting until the coffee has dropped to 40°C is impractical and time-consuming. So Baristahustle has provided you with a reference method for recording your sensory impressions across three temperature frames.
- Round 1, when the temperature is around 65°C: The sample is hot but delicious.
- Round 2, Around 55°C: A very comfortable range.
- Final round, at 45°C: Coffees are still aromatic, but this is the lowest temperature before they can be considered too cold to enjoy.
These three rounds of testing will give you about 5 minutes between each tasting to complete the notes for each coffee sample you are evaluating.
“Inhale” coffee properly
Why do you need a spoon when cupping? It’s not just for hitting the coffee and looking polite; The scoop helps you take a sip of your coffee and get more air into your mouth with a “inhale” motion.
After swallowing liquid, we constantly exhale, and during exhalation, the olfactory area behind the nose opens. The fluid reaches the throat wall and is then pushed up onto the olfactory epithelium as we exhale. It is called “Retronasal” because the fragrance enters the nasal cavity from the back of the nose instead of the front.
Therefore, when we suck, the liquid will be thrown out the back of the mouth and land on the throat wall, causing the same phenomenon as when swallowing usually.
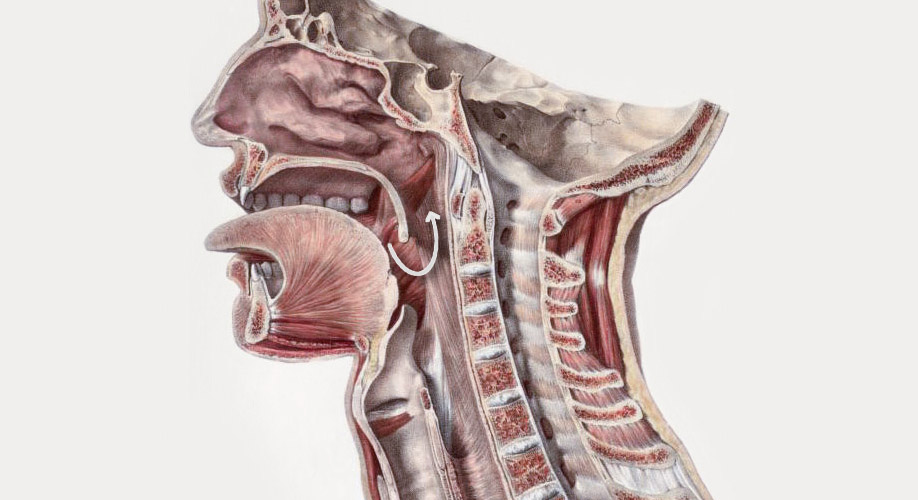
An added benefit of aspirating liquid when you taste it is that it immediately delivers aroma to your olfactory epithelium. It is more efficient than waiting for aromatic molecules to reach the olfactory epithelium through the nasal inhalation response (HB Heath, 1988).
To “taste” like a champion
Here’s how to taste it like World Barista Champion Gwilym Davies.
Simply inhaling the dissolved aromatic gases is not enough to experience the taste of a cup of coffee. These dissolved aromatics will return to a gaseous state as soon as we absorb them (otherwise, our olfactory neurons would not perceive any other scents present). Acreage).
So to ensure that more aromatic gases convert from liquid to gas before we swallow or spit them out. We need to reduce the vapor pressure around the drink. The reduction in pressure helps the dissolved scent molecules separate from the liquid more quickly. This condition is known as unbalanced evaporation. And the most effective way to achieve unbalanced evaporation with the drink is to draw the liquid into the mouth from the spoon in a strong sucking motion.
This entails noting that we must be careful not to choke when “slurping.” Advice that can be helpful when learning to taste is to lean forward slightly as you sip.
Do not “Drink” coffee while Cupping
So, after you’ve “inhaled” your coffee correctly, remember – don’t swallow it!
It is not uncommon for curators to be asked to taste more than 100 samples per day. This level of caffeine exposure forces cuppers to make judgments without swallowing the coffee. You’ll often see cuppers sampling the coffee with a spittoon after trying it – considered bad etiquette, but there’s a reason for this.
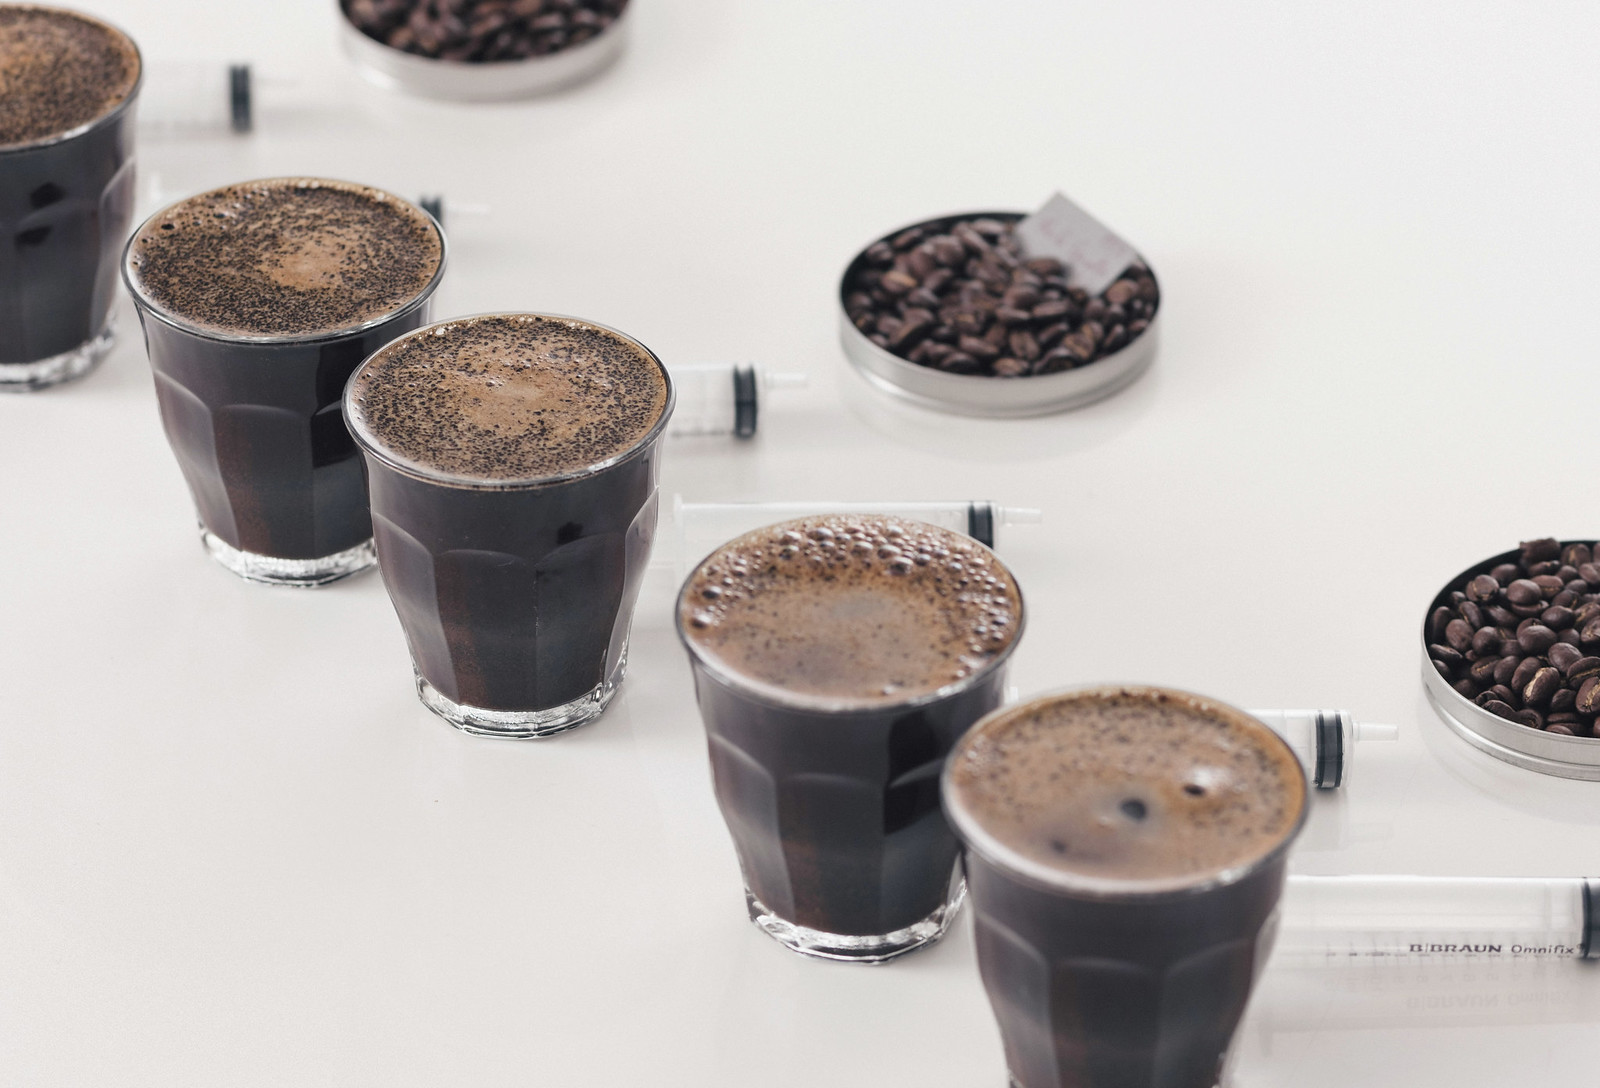
First of all, the Physiology of Taste and Odor makes it easy for us to experience the full flavor of a cup of coffee without having to swallow it. Due to the unbalanced evaporation that occurs after aspiration, “It is not necessary to swallow any test samples to achieve a full sensory evaluation” (HB Heath, 1988).
Buffering saliva with acids in coffee
The acidity of coffee is very susceptible to the buffering (neutralizing) effect caused by our saliva. Christensen et al. (1987) conducted an extensive survey to clarify this. In the tasting test, citric acid samples were 4ml and 20ml. The researchers found that the 4 ml sample size was much less acidic than the 20 ml samples. The pH of the 4ml samples increased quite dramatically, from pH 4.8 (cutting) of the original model, up to a pH of 6.5 (relatively neutral) after the acidic solution came into contact with saliva.
The main driver of this cognitive change comes from the buffering capacity in saliva. Saliva raises the pH of the solution, and a small amount of acid (4 ml) can be entirely buffered by saliva, thereby distorting the perception of acidity. Research also shows that people who try to swallow coffee when tasting it will produce 25% more saliva than those who suck on the liquid.
Back to the cupping, this proves that the more coffee you swallow during the tasting, the more saliva your mouth produces, and they can neutralize a more significant amount of the acid in the coffee – leading to a false perception of “sourness” in your sample.
- You can also see the Effect of Alkalinity on Coffee Extraction to better understand the “buffering” properties.
Evaluation form – SCA Cupping Form
In the sample evaluation and cupping scoring, we discussed recording and scoring the flavor attributes in coffee. However, cramming too many standards from SCA makes the article textbook and does not provide enough information about the SCA Arabica Cupping Form. Now, let’s note some details about this form.
The Specialty Coffee Association of America (SCAA: predecessor of the Specialty Coffee Association – SCA) developed its scoring system in 1984. It was the first 100-point based system for coffee, with ten attributes (categories), each is scored on a 10-point scale. Seven of these are scored based on quality. Three non-quality-based points and an additional deductive detail are used to help the cupper identify defects in the coffee.

70 points for quality
There are seven attribute columns in the cupping sample ( Aroma, Flavor, Aftertaste, Acidity, Body, Balance, Overall). That are scored based on their quality on a scale of 6 to 10. Score no less than 6 on this scoreboard. Because it is designed to achieve Specialty Coffees – which the SCA determines is above 80 points. Therefore, scores below six or above 10 are not acceptable for specialty coffee.
In addition to the above seven positive rating attributes, you will have three characteristics on the scoreboard used to identify coffee defects (Sweetness, Clean cup, Uniformity). Finally, each attribute point has the minor division to 0.25, which means you can score 8.75 points for any attribute.
What else can improve your cupping skills?
Tasting can be daunting at first, but the process is relatively simple. As well as familiarizing yourself with the protocols and assessment tables, here are a few pointers that may help you:
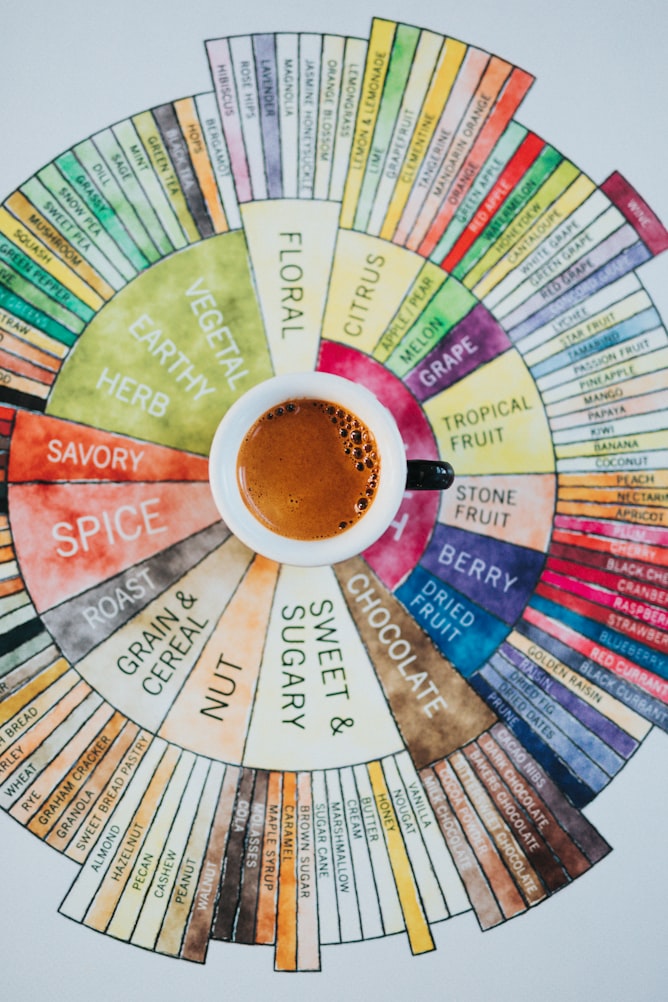
The most crucial factor is not being overwhelmed by the potentially confusing methodology and vocabulary accompanying cupping. To get started, focus on being consistent and describe patterns with your frame of reference. Over time, your familiarity with sensory methods and terminology will develop. WCR’s Coffee Flavor Circle and Sensory Lexicon will benefit you in this case.
Discussing flavor notes after cupping can help people find similar sensory messages – even if they don’t recognize them. However, keep quiet to avoid influencing the judgment of others. The discussion will follow.
Reference source:
Coffee quality control, course & certification by Baristahustle
