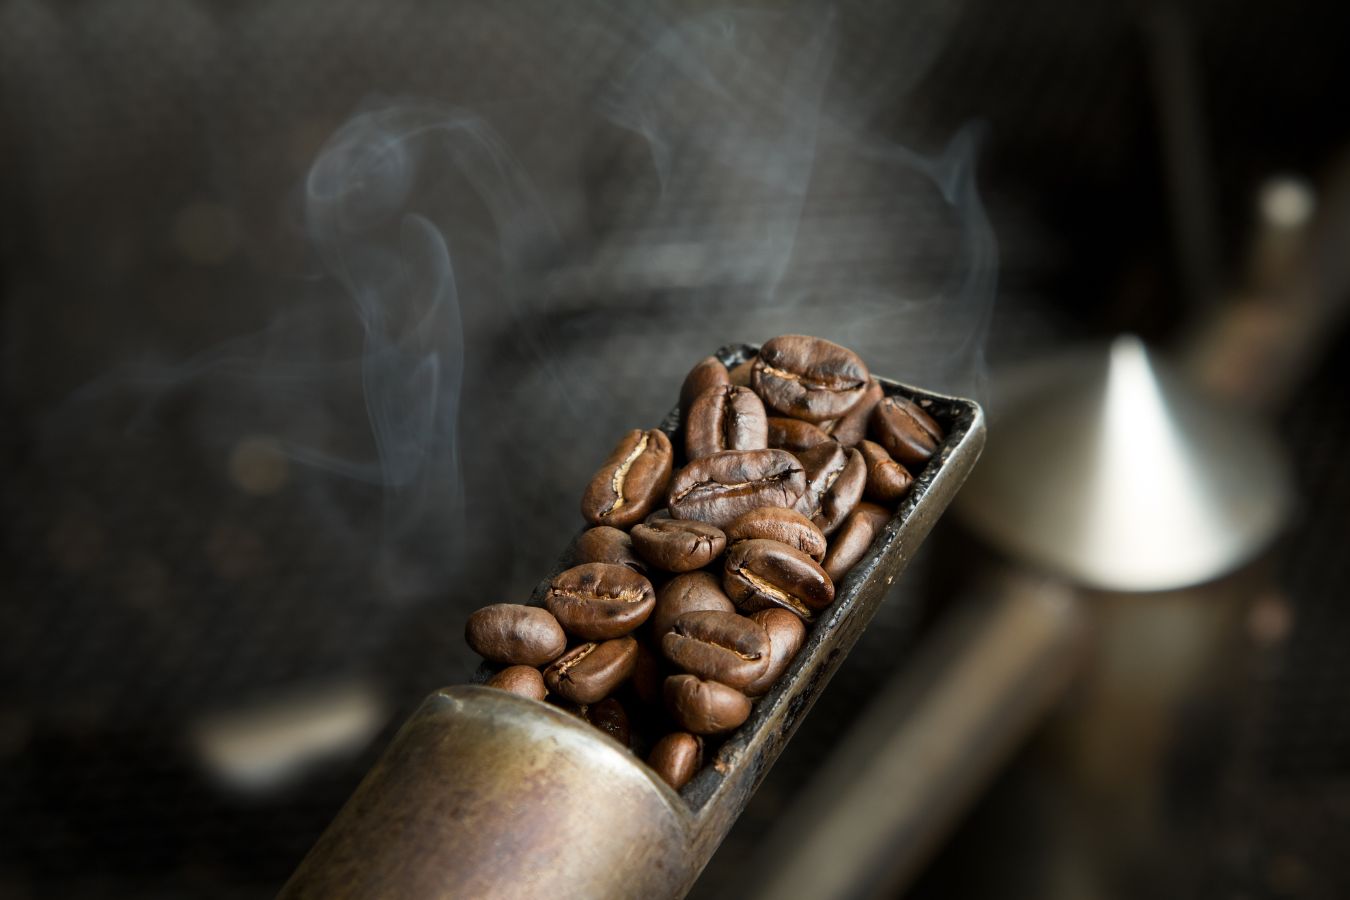
Sample Roasting Coffee: What Is It?
Sample roasting is straightforward in theory: it involves roasting a small sample of green coffee. Here are some of the reasons why you should burn your selections.
The quality of green coffee beans is assessed
The main goal of sample roasting is to objectively analyze the quality and consistency of green coffee.
For exporters, importers, roasters, and roasters specializing in OEM/ODM coffee processing. In the coffee industry, sample roasting is crucial in determining quality. In a batch of coffee, you have a small sample that is indicative of the entire collection of coffee beans.
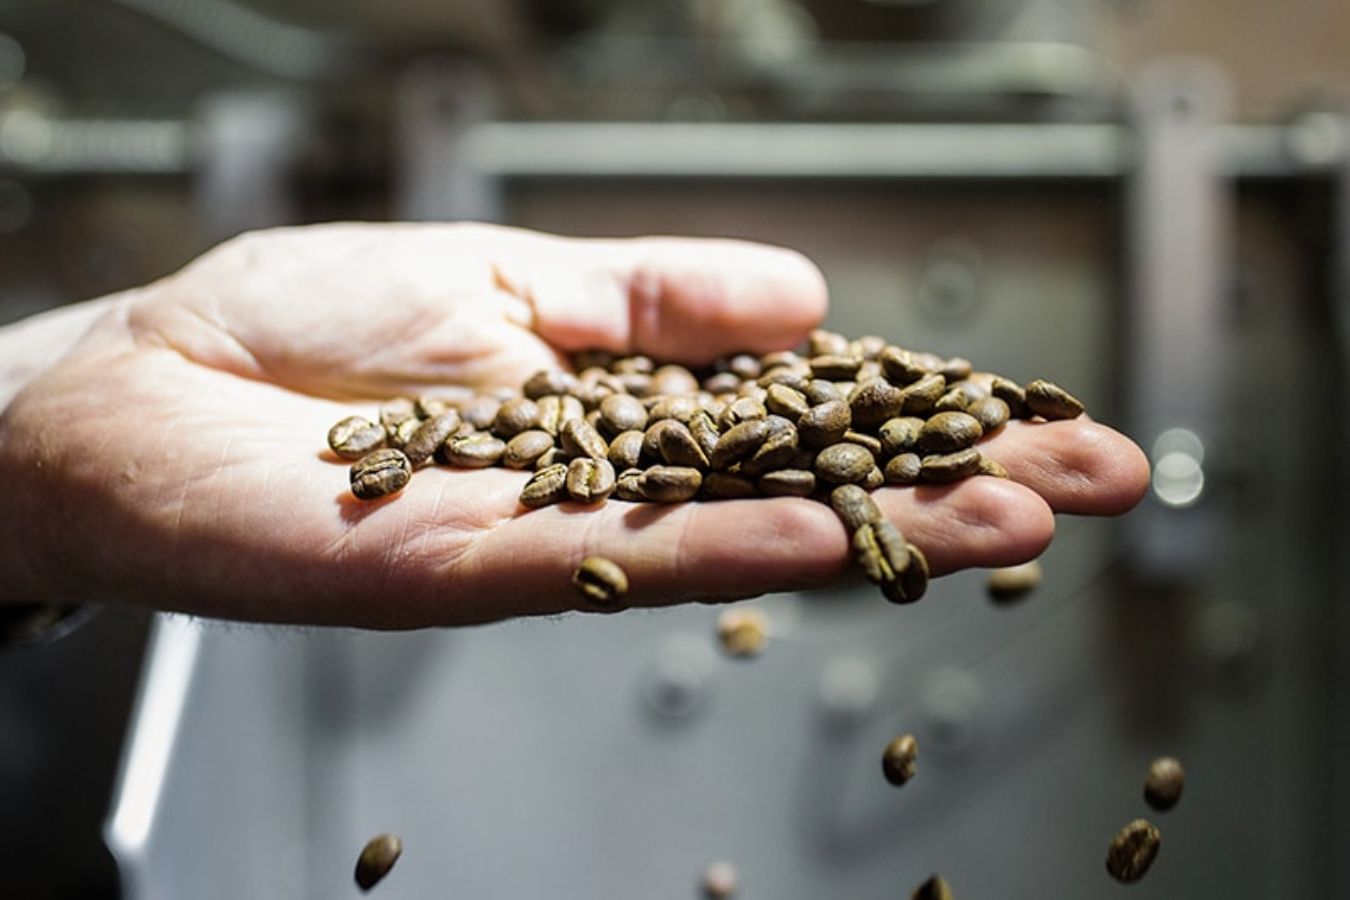
Cascade coffee roasters stated. You can’t know how the coffee will taste when it’s green if you don’t roast it. You can’t buy a 50-kilogram bag of roasted coffee and then determine whether or not you want to repurchase it. Even if you only burn 50g of sample coffee at a time, you might get results that look like vast quantities.
During the roasting of a sample. Coffee firms are capable of making sound purchase judgments. On the other hand, this sample roasting is relevant to the coffee supply chain. It demonstrates ways to enhance processing and farming practices from the farmer to the customer.
Select the appropriate roasting method
You have two objectives when roasting samples to judge coffee quality. To begin with, you’ll want to roast each coffee in the same manner so that you can compare them. Second, you’ll burn them so that the beans’ full flavor comes through.
When it comes to industrial coffee roasting, though, you’ll need to set some new goals. Emphasize the best aspects of coffee to develop a product that customers will enjoy.
As a result, you’ll have to roast multiple times to find the right roasting profile. Burning coffee samples is the most efficient and cost-effective method.
From Sample Rotation To Batch Rotation
Assume you’re looking to purchase green coffee samples. Green coffee distributors will supply models ranging in weight from 300 grams to 2 kg. These green coffee beans will be separated into smaller pieces for sample roasting, usually 50-200 grams.
To determine the overall flavor, roast all of your samples according to a procedure. Your roast profile must match that of these coffee samples. You must appreciate the coffee, not the roast, and there must be no discernible difference in flavor between the two varieties of coffee. You are not roasted in a manner appropriate for those coffee beans.
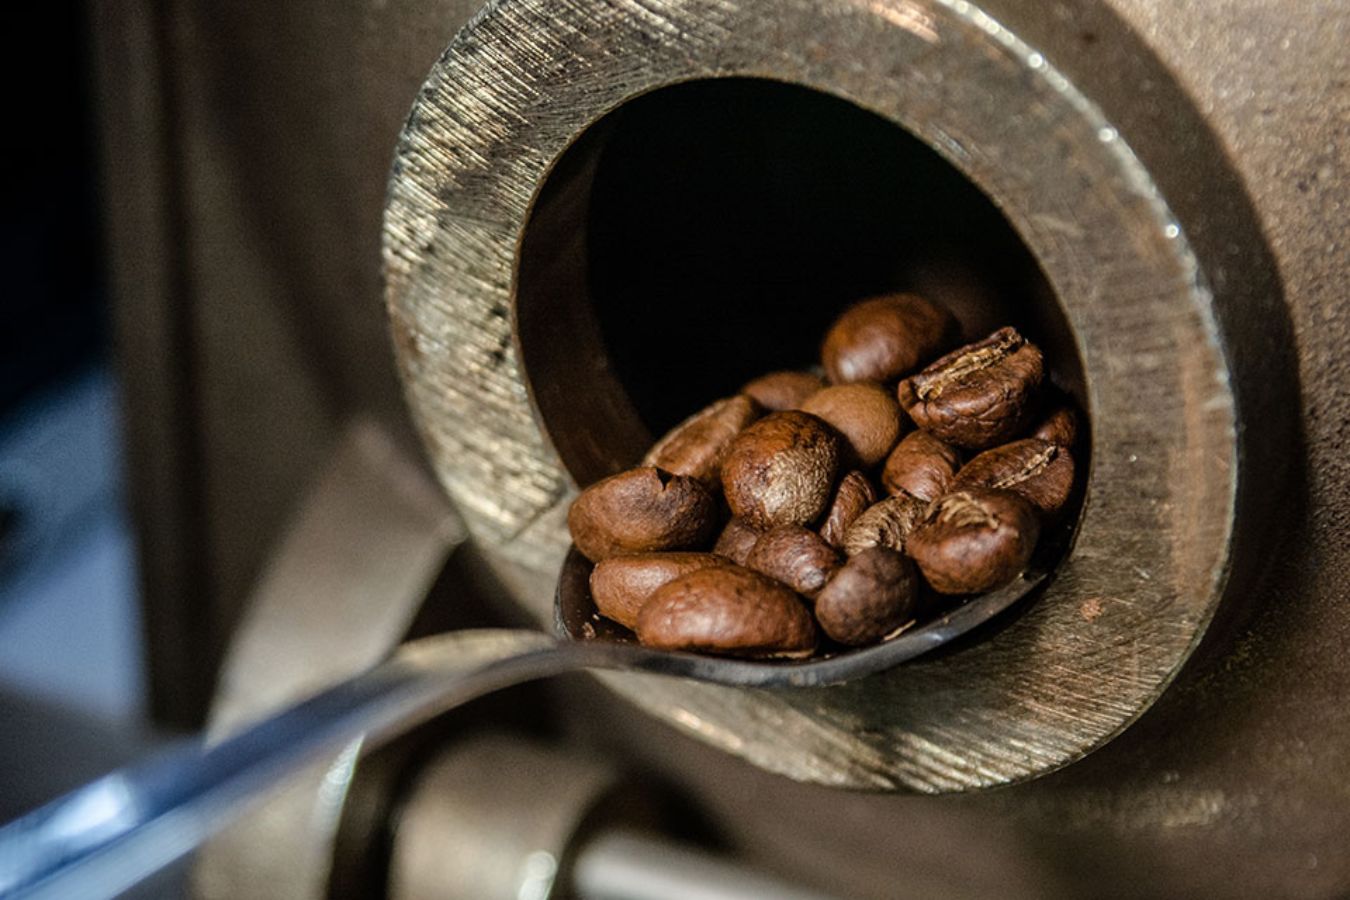
After that, after 8-24 hours of roasting, you should separate these roasted samples. Roasters will see flaws at this point. Especially the spots that aren’t visible when the coffee is still green. The Cascade roastery’s coffee specialists said. Flavor flaws caused by impurities, such as phenolic, moldy, or rotten aromas may only be discovered after roasting.
It’s time for another sample roast once you’ve found the one you want to buy. You’re now attempting to select the optimal roasting profile. Of course, “best” is a subjective term; each roaster will wish to extract distinct qualities from a given coffee.
It’s time to move on to volume production once you’ve found the right roast profile. From sampling to launching a new coffee for retail, the entire process might take 1 to 3 weeks for professional roasters.
And then it usually starts all over again. Coffee roasters keep a close eye on the various sorts of coffee. Also, take samples to assess the quality regularly.
Process Of Running a Pattern
Your method will, however, be determined by your objectives. However, if you want to compare and evaluate the quality of green coffee, you’ll need to do so. Roasting consistently is one of the most crucial things you can accomplish. If coffee is roasted more consistently, it is impossible to compare the two.
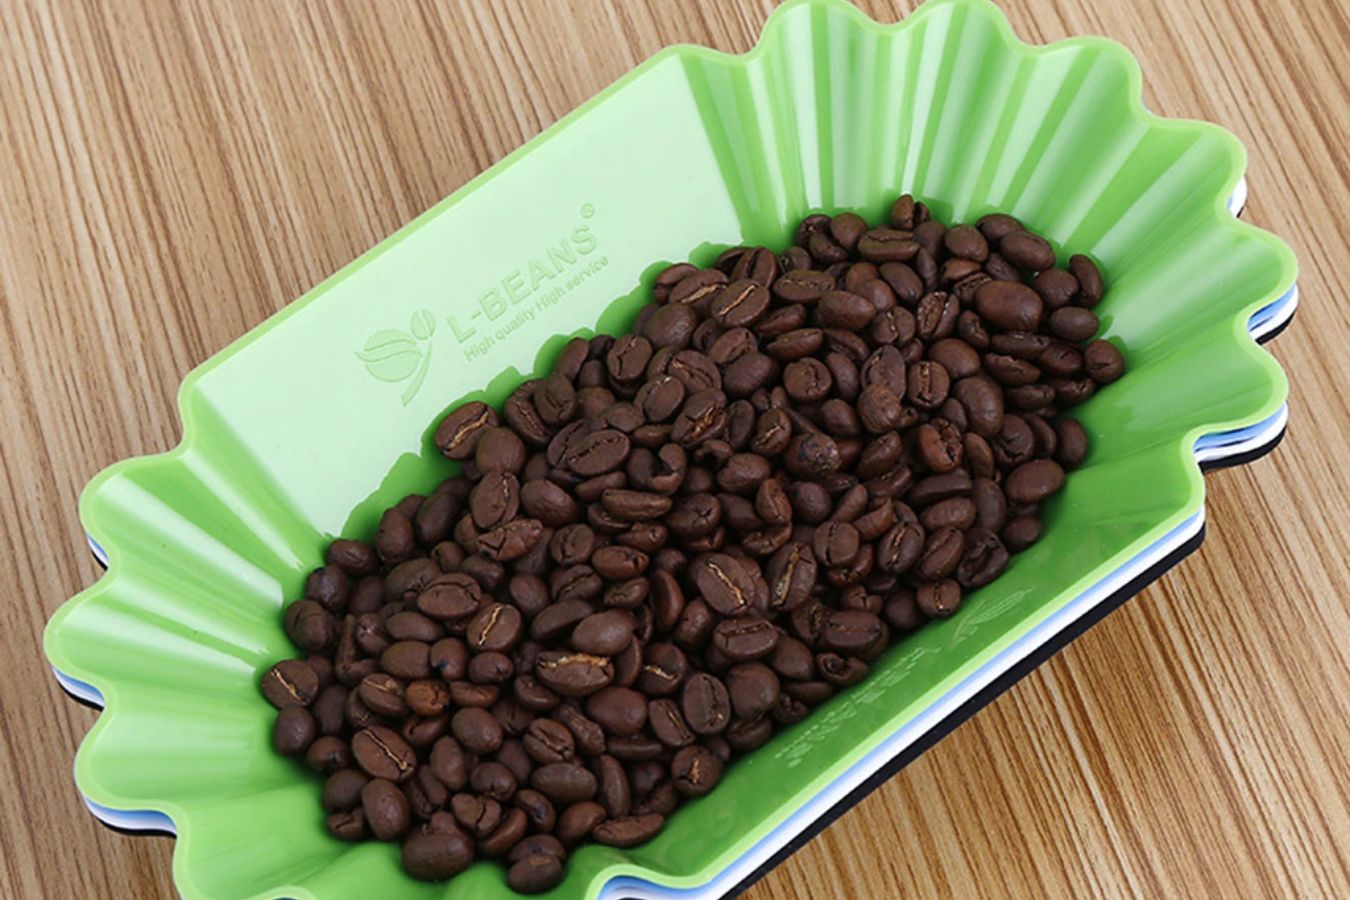
Controlling every aspect of the roasting process is crucial. There’s a lot to keep track of, from checking airflow, gas, and time to ensuring coffee beans are measured and labeled appropriately. Don’t forget to assess the flaws in green coffee before moving on to roasting samples.
Here are some example roasting procedures (a typical sample drum on a classic drum roaster) (more to come). This is what it might look like:
- 0:00 is the first step. The coffee bean sample is placed in the machine after the hot roaster, and the timer begins.
- Step 2: Raise the temperature of the roasting chamber and reduce the airflow from 1:00–to 1:30. During this “reverse phase,” the temperature of green coffee begins to climb.
- Step 3: 3 p.m. The water from the green coffee leaks into the roaster and has to be drained.
- Step 4: At 3:30 p.m., do a color test on the coffee: it should turn yellow between 3:00 and 4:00 p.m.
- Step 5: At 4:00 p.m., the coffee has turned a bright yellow color. Its moisture content has dropped to roughly 1.5 percent of the 10–12 percent it had at the start of the roasting process, and “browning” or “caramelization” (a visible Maillard reaction) has begun.
- Step 6: You’ll start to see and hear evidence of First Crack, depending on the type of coffee you’re drinking. Do a quick fragrance test to see any signs of scorching. To get any lingering steam or smoke out of the roaster, you’ll probably need to boost your ventilation. This ensures that the coffee’s flavor is not harmed (the coffee does not smoke).
- Step 7: 8:00 – 9:30 p.m. Finish roasting the sample about 90 – 120 seconds after the initial crack. Even if you generally burn to the second crack stage of the roasting process. To evaluate the quality of green coffee, you should finish roasting early.
- Finally, remove the coffee from the roaster and place it in the cooling tray. Coffee can now be studied. Differences in the color spectrum and roast volume, as well as flavor, will be examined.
For Samples, What Roofing Machine Should Be Used?
We just showed you how to use a classic drum roaster to roast samples. That is not, however, your sole option.
Traditional Roasting Method with a Drum Roaster
Drum roasters have traditionally been used for sample roasting.
The sample roaster has a small capacity, ranging from 30 to 300 grams depending on the machine. With two, three, or four drums linked to the same driving shaft, you may roast many batches at once. Sample drum roasters are pretty similar to production drum roasters in terms of operation.
The coffee is roasted primarily through heat transfer using a combination of airflow and heat conduction from the drum in this method. During roasting, coffee gains heat through conduction, which occurs when it comes into contact with the inside surface of the roasting drum.
Air enters the roaster through holes in the drum’s surface from the front to the back. Toggle buttons on the front of the roaster control the temperature. The heat is given by a flame that is lit inside the roaster. To keep the beans moving, the inner drum revolves.
Controlling airflow is a difficult task. Because it impacts the efficiency of heat transport and smoke retention, it’s also worth noting that airflow control on drum roasters is frequently limited.
From the front to the back, air enters the roaster through perforations in the drum’s surface. The temperature is controlled using toggle controls on the front of the roaster. A flame is lit within the roaster to provide the heat. The inner drum rotates to keep the beans circulating.
Airflow control is a difficult task. Because it affects heat transmission efficiency and smoke retention, it’s also worth mentioning that airflow control is frequently limited with drum roasters.